
Security Camera SH-ES501VR35 Wiring is crucial when setting up an efficient and reliable security system for your home or business. Understanding how to wire this specific security camera model can make all the difference in ensuring you get the best possible performance. This guide will walk you through everything you need about the SH-ES501VR35, from wiring to installation tips. Whether you’re a DIY enthusiast or a professional installer, this article will provide detailed insights to make the setup process smooth and efficient.
What is the SH-ES501VR35 Security Camera?
The SH-ES501VR35 is a high-quality, state-of-the-art security camera designed for residential and commercial use. It offers clear, high-definition video recording, night vision capabilities, and advanced motion detection features. The camera is typically connected to a central security system or cloud-based monitoring service, which allows users to monitor and record video footage in real-time.
One of the SH-ES501VR35’s main selling points is its ease of installation, but proper wiring is essential for it to perform optimally. Incorrect wiring can lead to poor video quality, loss of footage, or even system failure. Hence, understanding how to wire the SH-ES501VR35 camera is crucial for maximizing its performance and longevity.
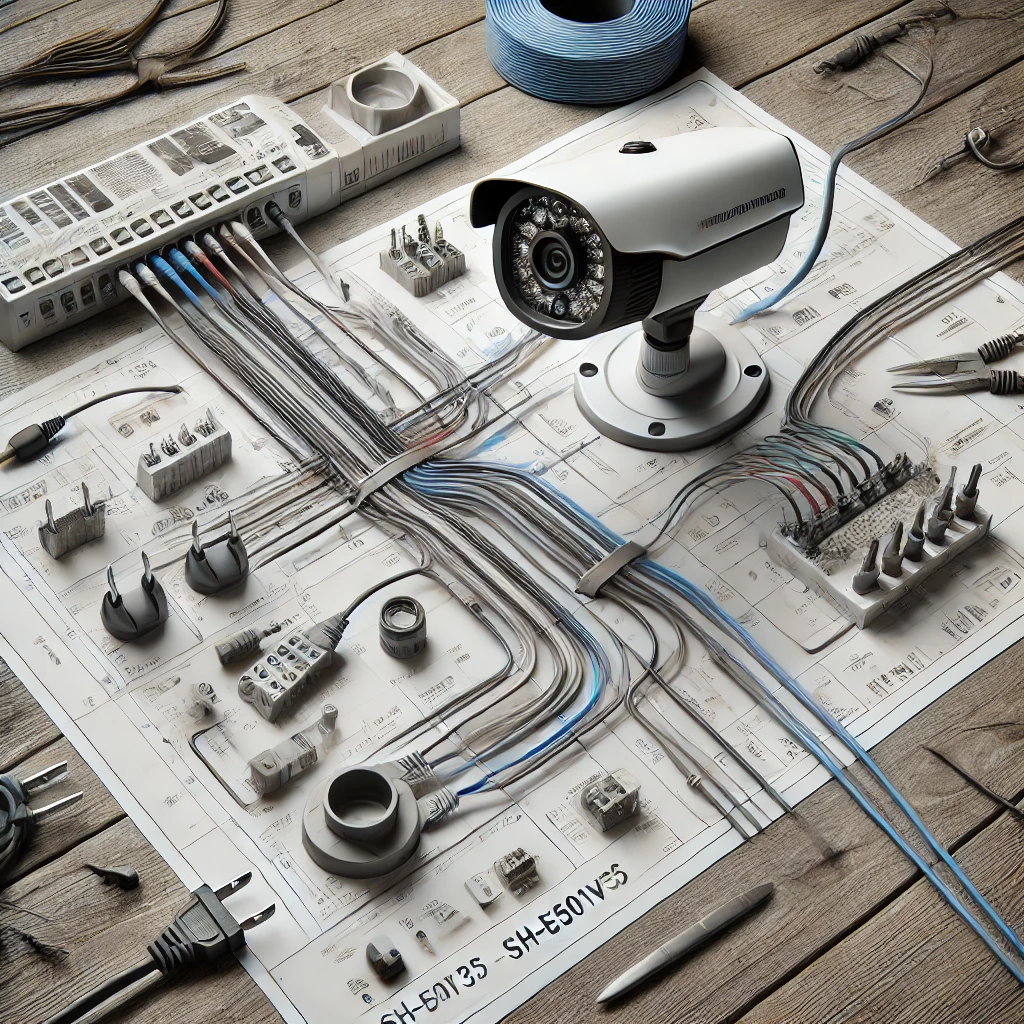
How to Wire the SH-ES501VR35 Security Camera
Before you start wiring the SH-ES501VR35 camera, you must ensure you have the proper tools and materials. Typically, the camera comes with a wiring kit that includes power, video, and mounting hardware. However, you might need additional materials like screws, anchors, or extension cables, depending on your setup requirements.
Here’s a simple step-by-step guide to wiring your SH-ES501VR35 camera:
- Positioning the Camera: Start by determining the ideal location for your camera. Choose a spot that offers a clear line of sight and ensures the camera covers the area you wish to monitor. Mount the camera at a height that prevents tampering but provides an optimal field of view.
- Mounting the Camera: Using the mounting bracket and screws provided in the kit, securely attach the camera to the wall or ceiling. Be sure the mounting is firm enough to prevent any movement or instability. Ensure that the camera is positioned in the right direction, and check the field of view before proceeding to the wiring process.
- Connecting the Video Cable: The SH-ES501VR35 camera has a video cable that needs to be connected to your DVR (Digital Video Recorder) or NVR (Network Video Recorder) system. The video cable transmits the video feed from the camera to your recording system for storage. Ensure the cable is securely plugged into the camera and the recording device, with no loose connections.
- Connecting the Power Cable: Next, you’ll need to connect the power cable to provide electricity to the camera. The SH-ES501VR35 typically uses a 12V DC power supply. Plug the power cable into the camera’s power input port, and then connect the other end to your power adapter. Ensure that the power supply is adequate for the camera and that all connections are tightly secured.
- Wiring the Network (If Applicable): If your SH-ES501VR35 camera is a Wi-Fi-enabled or IP camera, you may also need to connect it to your local network via an Ethernet cable. Ensure that your camera is positioned within range of your router to get a stable internet connection. Alternatively, if you’re using wireless connectivity, follow the instructions for setting up Wi-Fi connectivity.
- Testing the System: Once the wiring is complete, power on the system and check that the camera’s video feed appears on the monitor. You should be able to view live footage through your security system. Ensure the image is clear and there are no distortions or interruptions in the signal. If everything looks good, your wiring is successful.
Common Mistakes to Avoid When Wiring the SH-ES501VR35 Camera
While wiring your SH-ES501VR35 camera, it’s essential to avoid common mistakes that could lead to performance issues. Here are some things to watch out for:
- Loose Connections: Always ensure that all cables are correctly connected and that there are no loose ends. Loose connections can cause intermittent video signal loss or power interruptions.
- Improper Cable Lengths: Ensure the power and video cables are long enough to reach your DVR/NVR and power supply source. Too short of cables may result in needing to install additional extension cables, while excessively long wires can create a mess and may cause signal degradation.
- Incorrect Placement: Always double-check that the camera is placed correctly. Poor positioning can lead to blind spots or obstructions that prevent the camera from capturing important footage.
- Overloading the Power Supply: Ensure that your power supply is compatible with the SH-ES501VR35’s power requirements. Using an underpowered supply can cause the camera to malfunction.
- Not Testing the System: After installation, always test the system to ensure everything is functioning as expected. It’s better to catch any issues before finalizing the installation.
5 FAQs About Security Camera SH-ES501VR35 Wiring
How do I connect the SH-ES501VR35 camera to my DVR system?
To connect your SH-ES501VR35 camera to your DVR, plug the video cable into the camera’s output port and connect the other end to your DVR’s input port. Make sure the cable is secure and adequately inserted to avoid signal loss.
What type of power supply does the SH-ES501VR35 use?
The SH-ES501VR35 uses a 12V DC power supply. You can connect the camera’s power input port to an external power adapter. Ensure the adapter is rated for the camera’s power needs.
Can I connect the SH-ES501VR35 camera wirelessly?
The SH-ES501VR35 is a Wi-Fi IP camera that can connect wirelessly. To ensure a successful connection, ensure the camera is within the range of your network and follow the provided setup instructions.
What should I do if the camera is not powering on after wiring?
If the camera isn’t powered on, check all connections to ensure they are secure. Confirm that the power supply is correctly connected and is functioning. Also, verify that the correct voltage is being supplied to the camera.
How can I ensure that the video feed from the SH-ES501VR35 is precise?
Ensure that the camera is correctly positioned and that there are no obstructions in the camera’s line of sight. Also, check that the video cable is connected correctly and that the system is set to the correct video output mode for optimal clarity.
In-Depth FAQ: What Is the Importance of Proper Wiring for SH-ES501VR35?
One of the most frequently asked questions regarding the SH-ES501VR35 camera involves proper wiring during installation. Wiring is critical for the camera’s performance, as improper connections can lead to numerous issues, including loss of video feed, poor image quality, and unreliable power supply.
Proper wiring ensures the camera receives a consistent power supply and the video signal is transmitted without interruption. This not only guarantees high-definition footage but also maximizes the camera’s longevity and functionality. A poor connection, on the other hand, can result in the camera malfunctioning or, worse, failing.
Moreover, the wiring system is directly linked to the overall performance of the entire security system. A well-wired setup ensures that all components of your security system communicate effectively, including the camera, DVR, NVR, and monitoring systems. This synergy is essential for real-time surveillance and recording, which is why it is necessary to avoid common wiring mistakes.